
Upcycling Cardboard Packaging into Gift Boxes and Tags

Why Cardboard Packaging Deserves a Second Chance
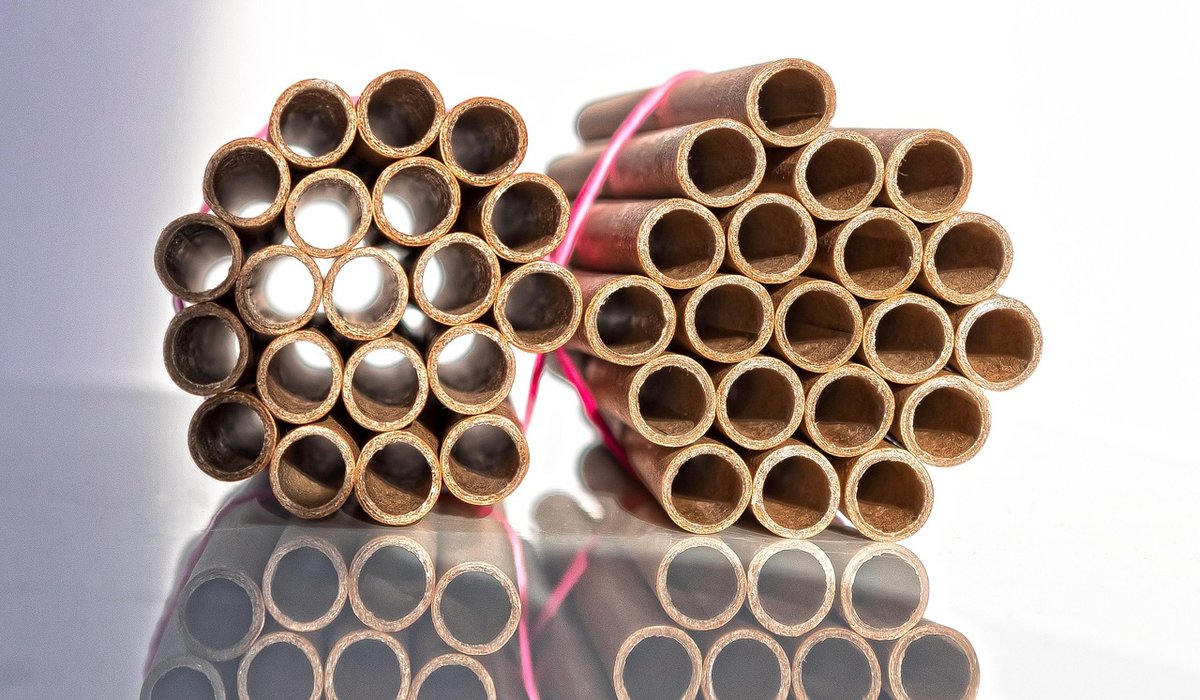
If you have ordered anything online in the past year, you will know the feeling: the parcel arrives, the contents are admired, and then a small mountain of cardboard is left behind. Rather than flattening it all straight into the recycling bin, set a little aside. Corrugated board and thin card from cereal packets, tea boxes and delivery envelopes are surprisingly versatile, and they take paint, glue and stitching beautifully.
Making your own gift boxes and tags from packaging saves money, cuts down on household waste, and gives you something that genuinely looks considered. A hand-folded box tied with garden twine says far more than a shop-bought one, and the whole project can be done at the kitchen table with a cup of tea and a pair of scissors.
Preparing Your Cardboard
The quality of your finished pieces depends on the card you start with, so spend five minutes sorting the pile before you begin.
- Corrugated board from thick delivery boxes is ideal for box bases, textured tags and bows. Peel away the top layer in places to reveal the ribbed inside, which looks lovely when painted.
- Thin card from cereal packets, tea boxes and cracker sleeves is best for folding, lids and small decorations. It scores and creases neatly.
- Greyboard from the back of old notebooks or folders gives a sturdy, professional finish.
Remove all tape, staples and address labels first, as glue will not stick to glossy tape and it shows through paint. Flatten boxes and store them somewhere dry. A quick wipe with a damp cloth removes dust, and if the card smells of anything, leave it to air for a day.
Your toolkit is simple: scissors or a craft knife, a metal ruler, a blunt pencil for scoring, and PVA glue or a glue stick. A cutting mat is helpful, but a thick magazine works just as well.
Making a Simple Folding Gift Box
This classic two-piece box is the most useful thing you can make from a delivery box, and once you have the measurements worked out you can scale it to any size.
For a box roughly 15cm square and 4cm deep, cut a square of card 23cm across for the base. Draw a line parallel to each edge, 4cm in. Score firmly along these lines with your blunt pencil and ruler, then cut out the four small corner squares. Fold the sides up and you have a cross shape. Fold the four flaps inward, overlapping them, and glue. Hold with paper clips or clothes pegs while the glue dries.
For the lid, cut a square 24cm across and score the lines 4cm in. The extra centimetre means the lid slides over the base comfortably. Use the same folding method, then leave the lid plain or line it with a scrap of wrapping paper.
For a softer look, cover the base with a strip of old wallpaper or a magazine page. Brush PVA glue over the card, smooth the paper down, and trim the edges once dry. A light rub with a nail file tidies the corners.
Tags That Look Anything But Homemade
Gift tags are the quickest win, and the perfect use for all those thin cereal packets.
- Cut rectangles around 9cm by 5cm and snip the top corners to create the classic luggage-tag shape.
- Punch a hole about 1cm from the top, or use a sharp pencil and wiggle it through.
- Reinforce the hole with a small ring of card glued around it so the tag does not tear.
For decoration, keep it simple and let texture do the work. A potato print in a single colour, a few lines of gold pen, or a scrap of ribbon glued along the bottom edge all lift a plain tag. Writing the name by hand in a nice pen is part of the charm, so skip the printer and enjoy the imperfection.
Another lovely trick is to stamp directly onto corrugated card, pressing firmly so the design sinks into the ridges. Paint over the whole tag afterwards and wipe the surface back, leaving colour only in the grooves.
Bows, Twine and Finishing Touches
A handmade box deserves a handmade bow. Cut thin strips of corrugated card about 1cm wide, bend them into loops, and pinch the ends together with a little glue. Layer loops of different sizes, starting with the largest at the bottom, and finish with a small circle in the middle. It is far sturdier than a paper bow and can be reused year after year.
Natural twine suits cardboard better than shiny ribbon, and a sprig of dried rosemary or a cinnamon stick tucked under the knot adds a lovely scent. Fabric scraps torn into strips make a soft, rustic alternative. If you want colour, a strip of washi tape along an edge or a dab of poster paint in a seasonal shade is usually enough.
Making It a Family Affair
Cardboard crafting works well with children because the materials are free and mistakes do not matter. A few ways to share the job:
- Younger children can tear paper for collage, paint cardboard shapes and punch holes.
- Older children can measure, score and cut under supervision, then take charge of the decoration.
- Everyone can help sort the recycling pile into "good card" and "recycle" boxes.
Keep a flat storage box of usable card, twine, ribbon offcuts and tags so a gift can be wrapped at short notice. Once you have made a few boxes, you will find yourself eyeing every delivery with fresh interest, and your recycling bin will be noticeably lighter.

Joeby Ragpa
This template is so awesome. I didn’t expect so many features inside. E-commerce pages are very useful, you can launch your online store in few seconds. I will rate 5 stars.
ReplyAlexander Samokhin
This template is so awesome. I didn’t expect so many features inside. E-commerce pages are very useful, you can launch your online store in few seconds. I will rate 5 stars.
ReplyChris Root
This template is so awesome. I didn’t expect so many features inside. E-commerce pages are very useful, you can launch your online store in few seconds. I will rate 5 stars.
Reply